

Cement Milk Proportions for Expanded Clay

The floor in the house should not only be reliable, even, but also warm. Today, a serious alternative to concrete and cement-sand floors is filling the floor with expanded clay. The material has a small weight, which means it does not weigh down the floor slabs, creates a solid base indoors and is a high-quality insulation. Cement milk is used to fasten expanded clay. You will find the proportions for expanded clay and tips on filling the floor with material in our article, and the uniqueness and effectiveness of such a screed is not even disputed by many owners.
to contents ↑Advantages of expanded clay
The history of expanded clay originates in the distant Middle Ages. Today it is one of the most affordable building materials. Expanded clay is produced by burning clay shale in special furnaces. Since the output of the material is 95% clay, it has all its positive qualities:
- Environmental friendliness. This property of the material allows its use in any residential premises.
- Resistance to mechanical influences.
- Tolerance to corrosion and decay.
- Incombustibility. Clay is chemically inactive, and all slags and third-party components burn out during the firing process, so the final material is not subject to burning.
- Excellent sound and heat insulation. The presence of pores in the granules explains the high sound absorption and thermal insulation properties of expanded clay.
- Resistance to chemicals.
- Durability. Clay practically does not wear out either under the influence of high temperatures, or from the cold. In the open air, expanded clay is able to lie up to 300 years without any visible damage to the structure.
- Resistance to low temperatures.
- Strength. Expanded clay is not inferior to silicate brick in this indicator. The relative lightness of the granules does not affect the strength in any way, since clay particles create stiffeners under the influence of high temperatures inside the granules.
- The relative lightness of the material.
- Low cost.
Where is expanded clay used?
If the task is to make a high-quality, smooth, inexpensive and warm floor, then filling the floor with expanded clay with your own hands is the best solution. It is very simple to work with this material, so anyone who wishes can cope with the screed device without using special equipment and tools.
In addition to insulation, this base is used in the following situations:
- Surface alignment. In a house or other room with a significant difference in floor level (up to 8-12 cm), filling the floor with expanded clay with your own hands will be simply necessary.
- The need to hide various communications (sewage, water supply).
- The need for an ideal surface for further installation of the floor covering (linoleum, ceramic tiles, parquet, natural materials).
- Installation of a floor heating system.
- The need for high sound insulation in the room.
Filling a floor with expanded clay has a fairly wide range of applications. This is due to the combination of strength and lightness of the material.
How to fill the floor with expanded clay?
Of course, you can achieve a smooth and durable floor surface inside the house with the help of a construction team, but the cost of the whole process will increase significantly.You can do the insulation of the floors with your own hands, for this you only need to purchase all the necessary construction equipment and materials, make cement milk for expanded clay and use it correctly.
What will be required for work?
Tools required:
- Level (laser, water).
- The rule.
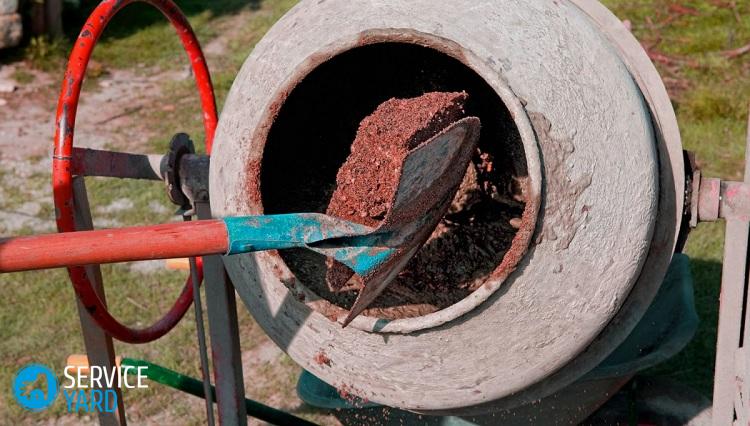
- Capacity for stirring the mortar (concrete mixer or trough).
- Shovel.
- Grid.
- Lighthouses These are ordinary guides made of metal (plastic).
- Master OK.
- Large needle roller.
In addition to tools, it is necessary to prepare the following materials:
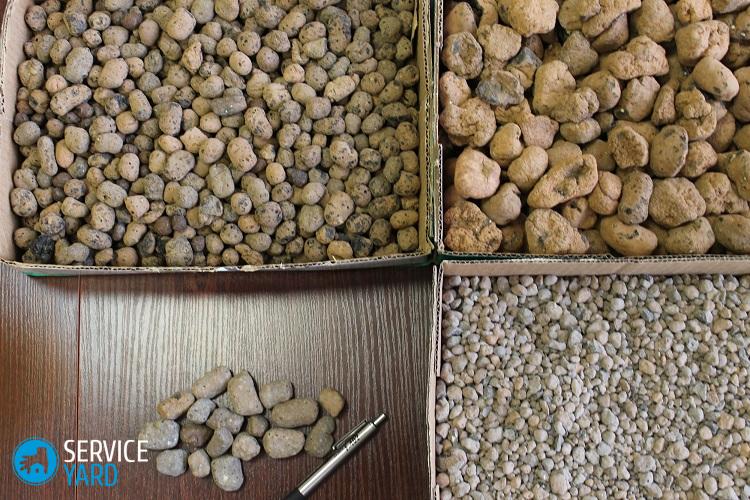
- Expanded clay. In order to calculate the amount of material, calculate the exact square of the work surface and familiarize yourself with the technical specifications of the material. It is usually provided on the packaging bag. Expanded clay fraction 5-20 mm is recommended for use.
- Cement and sand or a ready mix.
- Mastic.
- Alabaster or gypsum.
- Water.
- Scotch.
- Polyethylene. Use only strong, high-density film.
Expanded clay flooring technology
It is customary to distinguish two main floor installation techniques:
- Typing. For the installation of a built-in floor, the frame is first assembled, which is subsequently covered with expanded clay and poured with a finish screed. The process is more laborious and lengthy. In addition, the thickness of the frame together with the fill reaches 10 cm. But if the goal is to make a real warm floor, then you should choose the installation of a stacked structure.
Important! This installation is perfect for private homes.
- Bulk. In low apartments and houses use bulk floors, since rough and finish screeds reach a maximum of 4-5 cm. A monolithic coating minimizes vibration and eliminates the possibility of parasites under the floor. On the other hand, a monolithic surface is considered a cold bridge, and for the floor to be really warm, it must be equipped with heating.
Consider the sequence of work for each method of floor installation.
How to fill the floor in an apartment with expanded clay?
To independently fill the floor, you need to learn a few rules:
- For 1 cubic meter of the finished solution you need: 20 bags of expanded clay and 1 bag of cement M300.
- The drying time for 1 cm screed is one week.
- Before work, determine the exact consumption of material and estimates for future work.
A similar method of forming the base for the floor involves several stages of work:
- Preparatory.
- Waterproofing.
- Installation of lighthouses.
- Filling the base with expanded clay.
- Preparation of cement-sand mortar with expanded clay aggregate.
- Fill rough screed.
- Filling the finishing screed (if you plan to use self-leveling self-leveling floors).
Let's consider each stage in more detail.
Preparatory stage
Before proceeding with the installation of beacons, it is necessary to clean the surface to the slab. For this:
- Remove all debris and dust to the concrete base.
- Remove all skirting boards.
- Clean all available slots, openings.
- Protect power lines against moisture.
Important! You can wrap the wire with polyethylene and fix it with tape. For greater reliability, put on top the cut corrugation.
- Determine the line along which you want to level the surface using the level. Draw horizontal lines on the walls of the room along which the surface will be aligned.
Waterproofing barrier
Before insulating the floor, it is very important to protect the lower floors of the apartment building from the flow of a liquid mixture. In order to eliminate the likelihood of a large leakage of liquid on the lower tiers, take a simple mixture for plaster and close up all the large holes.
To create a durable waterproofing layer of the floor, apply one of the following options:
- Use liquid mastic. This is the most effective way. Apply the mixture with a roller or a wide brush on the entire surface of the floor and on that part of the wall that will be under the expanded clay screed. Apply mastic in two layers, the interval between coatings should be at least 3 hours.
- Spread plastic wrap on the floor. Use only thick, durable film. Overlap the film (40-50 cm) and fasten it with tape. Bring the edges of the polyethylene onto the walls, 10 cm above the border of the future screed.
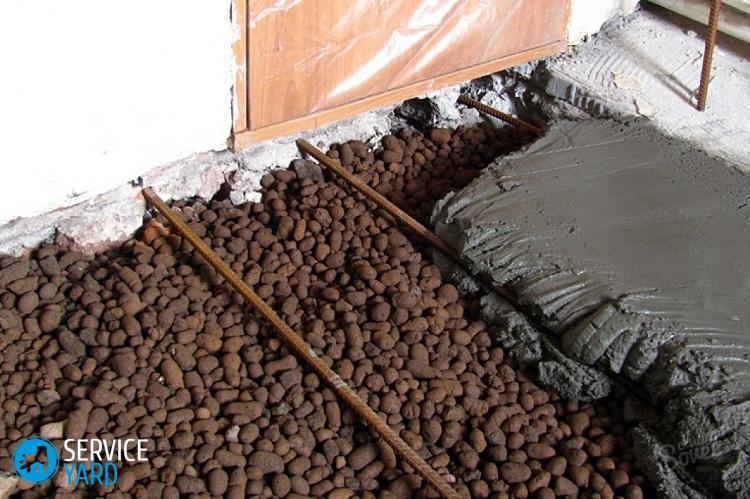
Installation of lighthouses
After all the conditions for a complete and high-quality waterproofing are fulfilled, proceed to setting the T-shaped beacons:
- Select the highest point as a guide, set the “main” beacon on it (at least 6 mm).
- Using a level of any kind, mark the intended edge of the screed.
- Draw the lines along the marks using the dyeing thread.
- Divide the base of the floor with beacons into 1 meter wide parts.
Important! To make the slats stationary, fix them with self-tapping screws or cement mortar.
- Set the exact horizontal plane between all the beacons using the building level or the long rule.
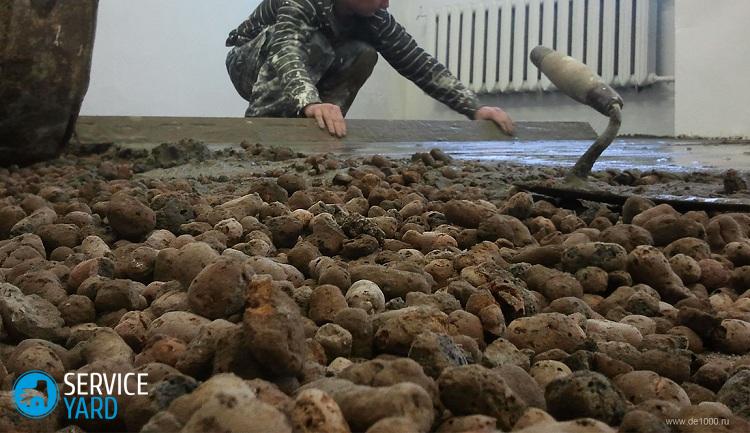
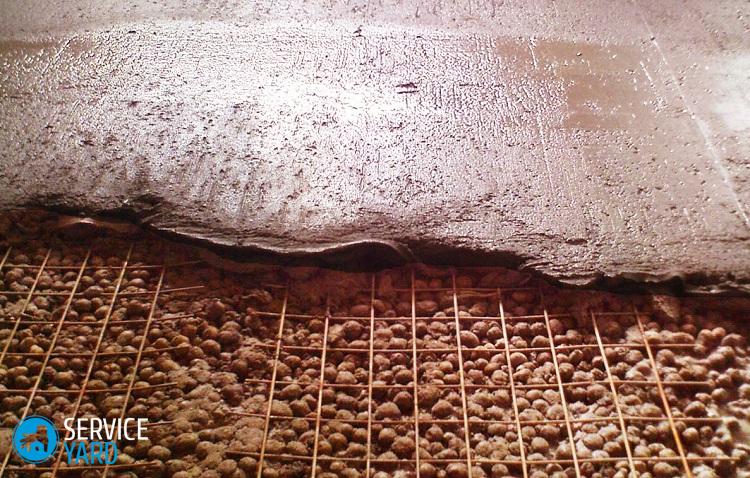
Filling the base with expanded clay
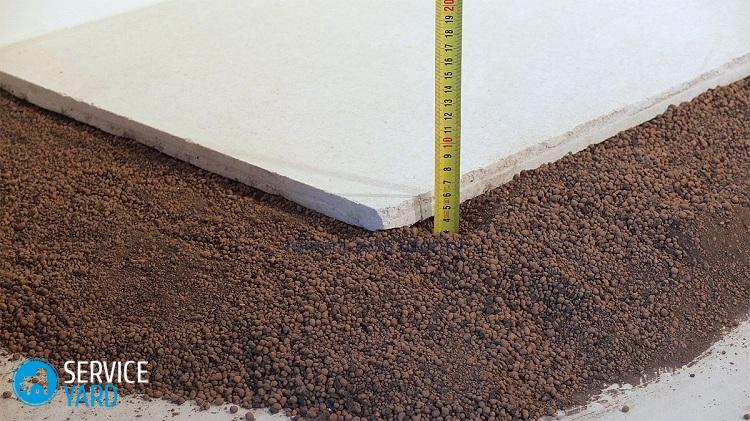
After all the lighthouses are exposed and aligned, you can fill the floor with expanded clay. Filling is considered the easiest step when installing the screed. The main thing is to monitor the height of the embankment. Spread the material so that there is still enough space for the screed itself (a mixture of cement and sand).
Important! The expanded clay layer should be such that 20-25 mm remain to the upper level of the beacons.
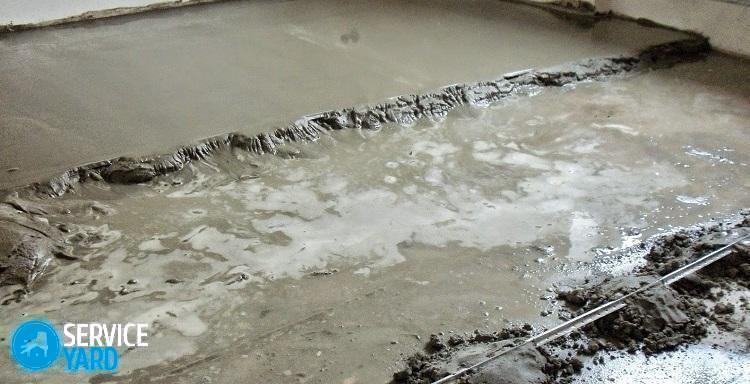
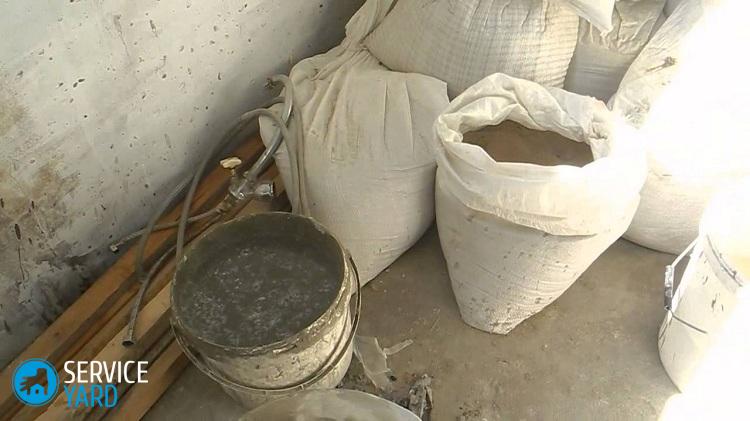
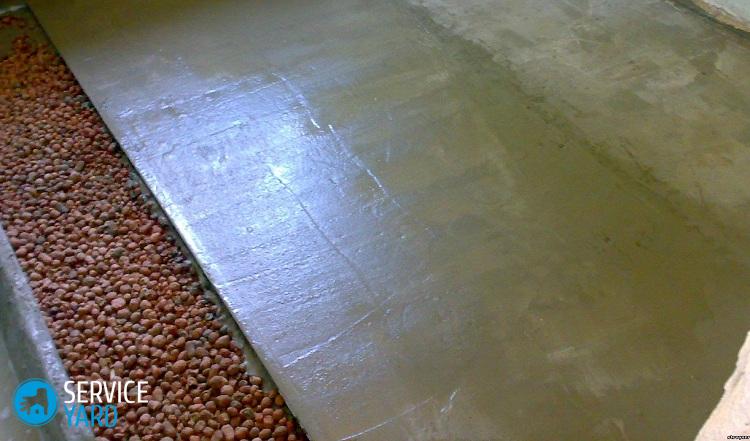
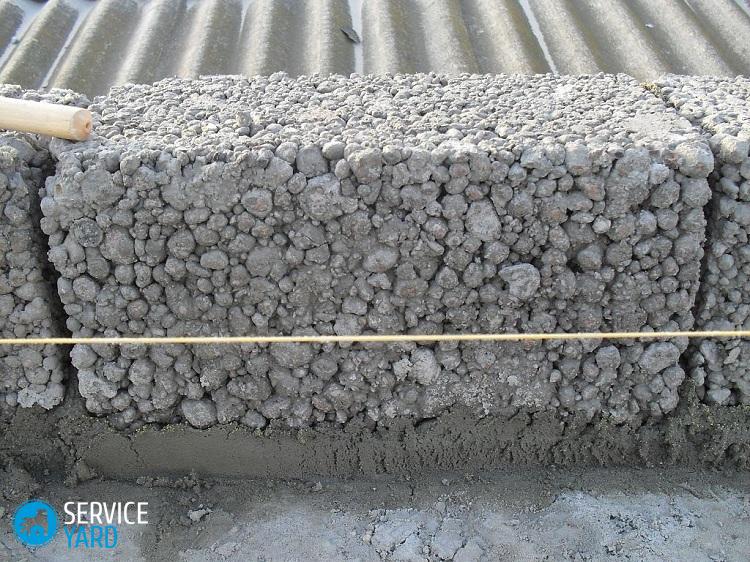
Preparing a solution of sand and cement (milk)
To fill expanded clay, it is necessary to prepare a liquid mixture of cement with sand (milk). After the mixture has dried, a thin film should form on the surface, which will reliably protect the granules from moisture and prevent the liquid cement screed from absorbing into the expanded clay.
Important! There is no ideal formula and proportions for the preparation of cement milk for expanded clay, the mixture should be prepared by eye. The main thing is that the mixture does not leak between the granules and does not stand on the surface with a thick layer.
During the preparation of cement milk for expanded clay can not do without experiments:
- Pour times more water into a mixture of cement and sand than for a conventional screed.
- Fill the prepared mixture with a separate small area with granules.
- Look at the behavior of the mixture: if the liquid spilled through the granules and there was no trace left on the expanded clay, then too much water was added and its quantity needed to be reduced. If a residual layer of milk is formed on top of the insulation, then there is not enough water.
- After analyzing the result of the observation, find a compromise in the proportions of the components.
Important! The drying period of cement milk is exactly one day. The day after the pour hardens, the top layer of expanded clay should be motionless.
After the entire surface has dried, it is time to move on to the next stage of work - the floor screed.
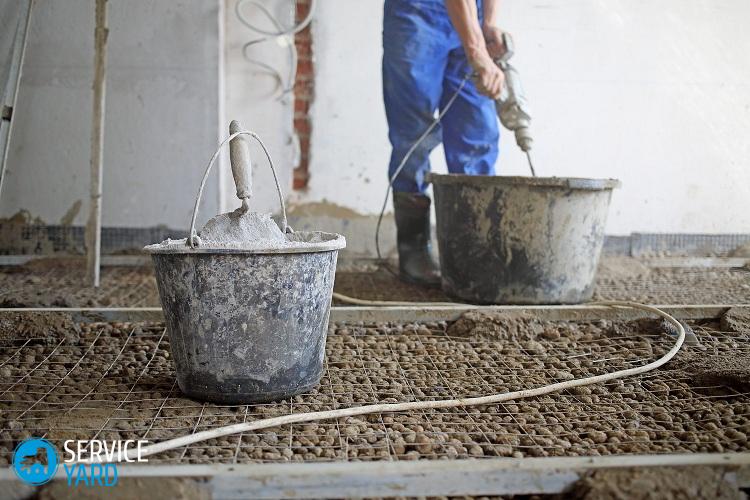
Screed mortar preparation
To prepare the mortar, use cement grade M300-M400 or lower and building sand:
- Mix the ingredients in a 1: 3 ratio. When mixing, use a special construction mixer. This method will be much more effective than using a simple shovel.
- Add 2 liters of water per 10 kg of the mixture. It is much more convenient to add the dry mixture to water, and not vice versa.
- Mix thoroughly with a mixer. Stir the solution for 5-10 minutes.
- Leave the solution for 5 minutes to settle.
- Stir again (2-3 minutes).
The solution is ready, it can be used.
Important! Do not prepare too much mortar, just a few buckets. Pour the finished solution on the floor and again begin to prepare a new composition.
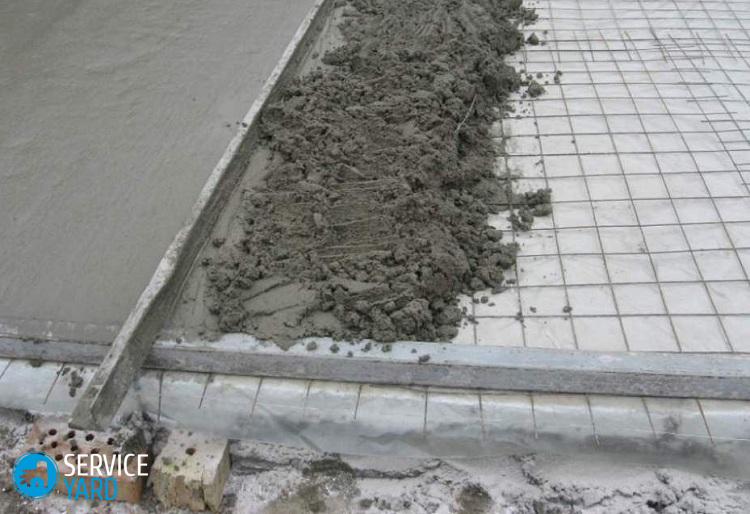
Grouting
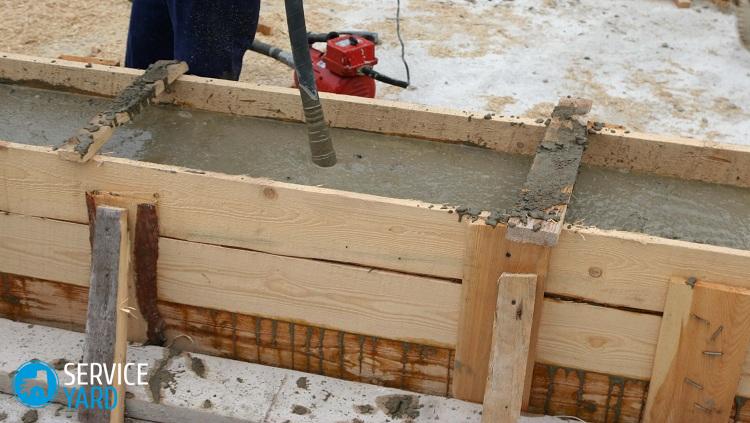
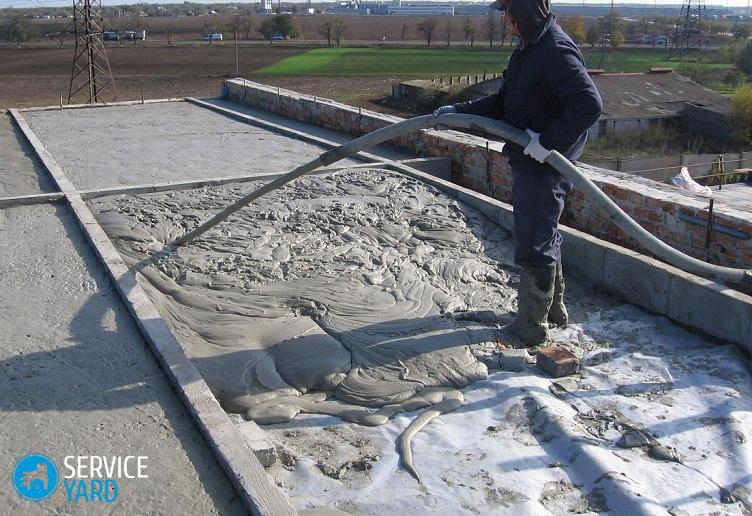
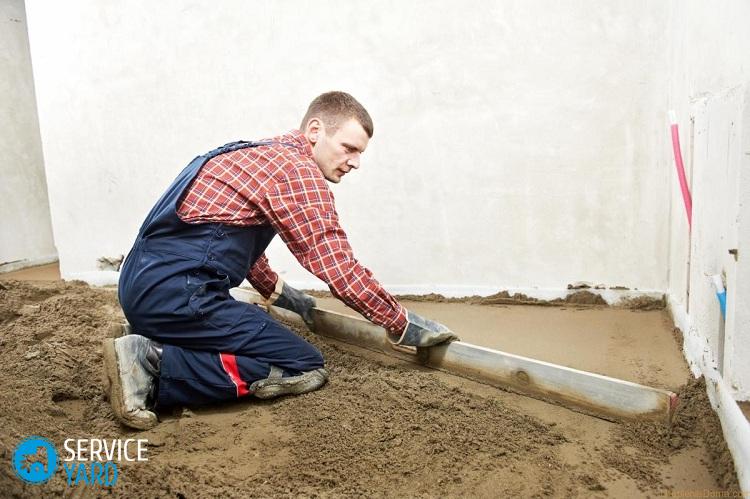
The final stage includes filling the floor with a solution:
- Carefully pour screed on the floor.
- Align it with beacons using the rule. Perform movements on yourself.
- If desired, reinforce the screed with a steel mesh with cells of 5x5 cm.
- Remove the beacons and seal the holes formed by them.
- Leave the screed to dry. You can walk on the screed in a couple of days, and it will take about a month to completely dry. During drying, periodically spray the surface with water.
This is how floor screed with expanded clay is performed.

Double layer screed
There is an easier way to install the insulation under the screed - it is called two-layer, that is, the filling is carried out in two stages.
Although the process, at first glance, seems more complicated, but it is done in a shorter time. Preparation of the base is carried out in the same way as in the previous case, but the solution is prepared differently:
- Prepare a container (large) and pour water into it.
- Pour expanded clay into the container, mix thoroughly until all granules are completely wetted.
- Add cement-sand mixture (ready-made) gradually, mix thoroughly again.
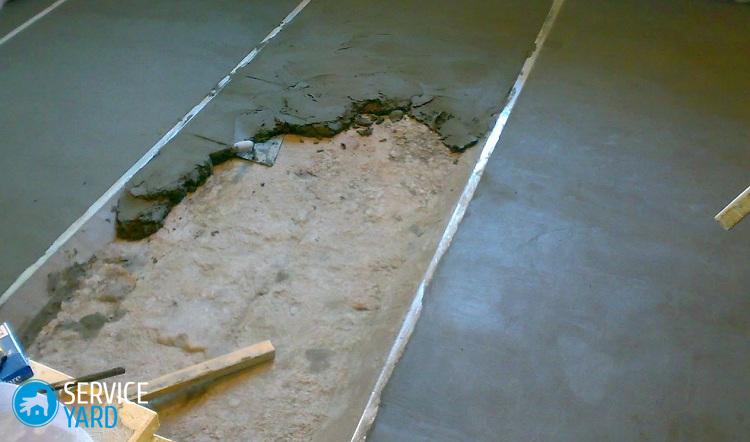
Then proceed as follows:
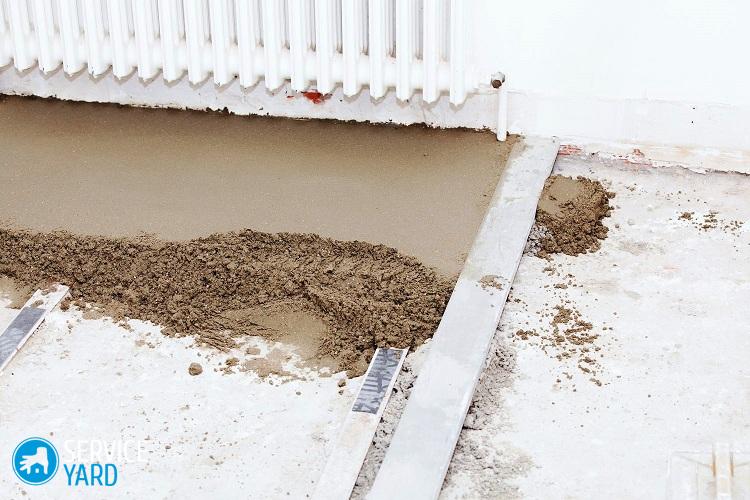
- Place the finished solution on the surface so that from its top point to the level of the beacons there are 2-2.5 cm.
- Carefully align the composition along the walls with a trowel.
- Without waiting for the lower layer to dry, prepare and fill in another composition, but without expanded clay. This mixture should include only sand and cement. As a result, the first layer will be with expanded clay, and the second - cement with sand.
- Fill these stripes with the entire surface of the floor, moving from wall to door, strictly adhering to the horizontal plane along the installed beacons.
- Give the screed time to dry. As in the previous case, complete drying will occur only after a month.
Advice:
- If pits have formed during filling or air bubbles have risen, then immediately fill these areas with the mixture and stretch as a rule until an ideal surface is obtained.
- To retain moisture during drying, cover the surface with plastic wrap.
Dry floor screed
The easiest and fastest way to screed floors is dry. This is an equally effective method of floor insulation. To perform a dry screed, proceed as follows:
- Mark the necessary height of the future floor, taking into account the differences in the old foundation.
- Cover the entire base with waterproofing material.
- Pour dry granular expanded clay on the surface, tamp it.
- Install gypsum sheets on top of the expanded clay layer.
- Process the seams of sheets with PVC glue.
- Install the cladding material on top of the gypsum sheets.
If you complete the entire process in accordance with technological requirements, then this floor will last quite a long time.
to contents ↑Stock footage
A correctly made screed allows you to not think about repairing the floor for a long time. And any warm floor on such a basis will be simply magnificent. Choose a method of screeding the surface according to the height of the ceiling and your needs. In any case, the expanded clay floor will be smooth, strong, and most importantly - warm.
- How to choose a vacuum cleaner taking into account the characteristics of the house and coatings?
- What to look for when choosing a water delivery
- How to quickly create comfort at home - tips for housewives
- How to choose the perfect TV - useful tips
- What to look for when choosing blinds
- What should be running shoes?
- What useful things can you buy in a hardware store
- Iphone 11 pro max review
- Than iPhone is better than Android smartphones
 (No ratings yet)